If you want to import a single Excel or CSV file, time cockpit's Importer Module probably offers exactly what you need. However, you might need to regularly import multiple files depending on each other (e.g. projects and customers where each project row contains a reference to a customer row). Wouldn't it be nice to have this import automated so you can trigger it with a single click? This is possible using time cockpit's scripting language.
Typical Import Challenges
Many of our customers use time cockpit Importer to periodically import master data like customers, projects, tasks, etc. from several different upstream systems. However, if you need to import your data regularly, this can become a tedious task. Typical challenges are:
- Users are not aware of data dependencies that enforce a certain order of importing files (e.g. projects and customers where each project row contains a reference to a customer row)
- Users cannot remember storage locations (e.g. file server) where upstream systems store files
- Users run imports seldom. Therefore they forget how to start it.
Automate the Import
You can automate imports using Actions written in time cockpit scripting language (Python). Such actions can be triggered manually or periodically. The import action has to call time cockpit's Import Module and trigger the corresponding Import Definition. It contains all the information that time cockpit needs to read the source file, map it to you data structure in time cockpit and write the data to your time cockpit database.
We want to share sample code for such an action so it becomes easier for you to automate your own import process. Here is the sample code:
clr.AddReference("System")
clr.AddReference("TimeCockpit.Data.Import")
from System.Text import Encoding
from System.IO import File
from TimeCockpit.Data.Import import *

def actionSample(actionContext):

	# implementation of event handler
	def printMessage(source, worksheet, row, severity, message):
		# e.g. error handling, abort action ...
		print(message)

	def printProgress(s, ws, max, current, created, updated):
		print ws, current, max

	def printFinished(source, reportDataArray, reportMimeType, sourceDataArray, sourceMimeType):
		print 'Finished importing...'


	def performImport(impDefName, importFilePath):
		sourceData = File.ReadAllBytes(importFilePath)

		# check existence of the import definition
		impDef = Context.SelectSingleWithParams({
		"Query" : "From I In ImportDefinition Where I.ImportDefinitionName = @DefName Select I",
		"@DefName" : impDefName })
		if impDef == None:
			raise ValidationException("The import definition " + impDefName + " could not be found.")

		importTaskId = Guid.NewGuid()
		definition = ImportBookDefinition.ReadXaml(Encoding.UTF8.GetString(impDef.APP_Definition))
		engine = ImportEngineFactory.Create(ImportEngineFactory.XlsxEngine, Context)

		# attach event handlers
		engine.OnMessage += printMessage
		engine.OnProgress += printProgress
		engine.OnReportFinished += printFinished

		engine.PerformImport(definition, True, sourceData, impDefName, importTaskId, impDef.ObjectUuid, None)

	# names of your previous created import definitions in the module "Management" in the section "Settings/Import Definitions"
	importDefCust = 'Auto-Import-Customers'
	importDefP = 'Auto-Import-Projects'

	# call imports in certain order
	performImport(importDefCust, '''C:\Documents\ImportContent\customerImport.xlsx''')
	performImport(importDefP, '''C:\Documents\ImportContent\projectImport.xlsx''')
How The Code Works
The method performImport contains the important part of the action.
- First, we read the content of the file that should be imported with
File.ReadAllBytes. - Next, we load the import definition into the local variable
definition. The import definition defines how to map the columns in the Excel or CSV file to the corresponding time cockpit data structure. - Next, we create an
ImportEngineFactory. It contains the core import logic of time cockpit. - Lastly,
PerformImport loads the data from the Excel or CSV file and writes it into time cockpit.
Benefits of Automated Imports
Always in the correct sequence
You can automate the proper sequence of your imports (e.g. first customers then projects because each project refers to a customer).
Automatically generated import logs
The results of the imports can be found in the usual import log of time cockpit's Import Module.

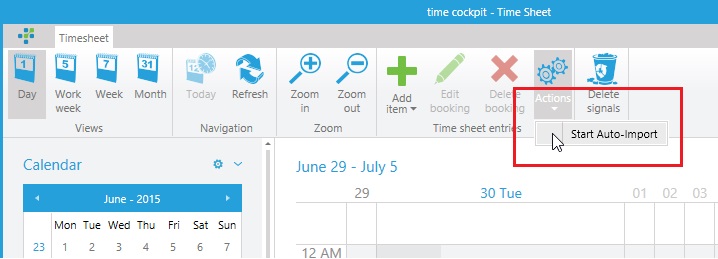
Manual or periodic execution
The action can be executed manually in time cockpit. It can also be automated by using our Execute Script Tool.
Alternative: RESTful OData Web Services
If you want to schedule the importer process in the cloud instead of your own data center, you can use time cockpit's OData web service API e.g. in combination with an Azure WebJob instead. This requires that the source system provides data via a RESTful API or database read access. Our blog article Integrating On-Premise Resources Into Time Cockpit contains detailed information about that approach.
comments powered by